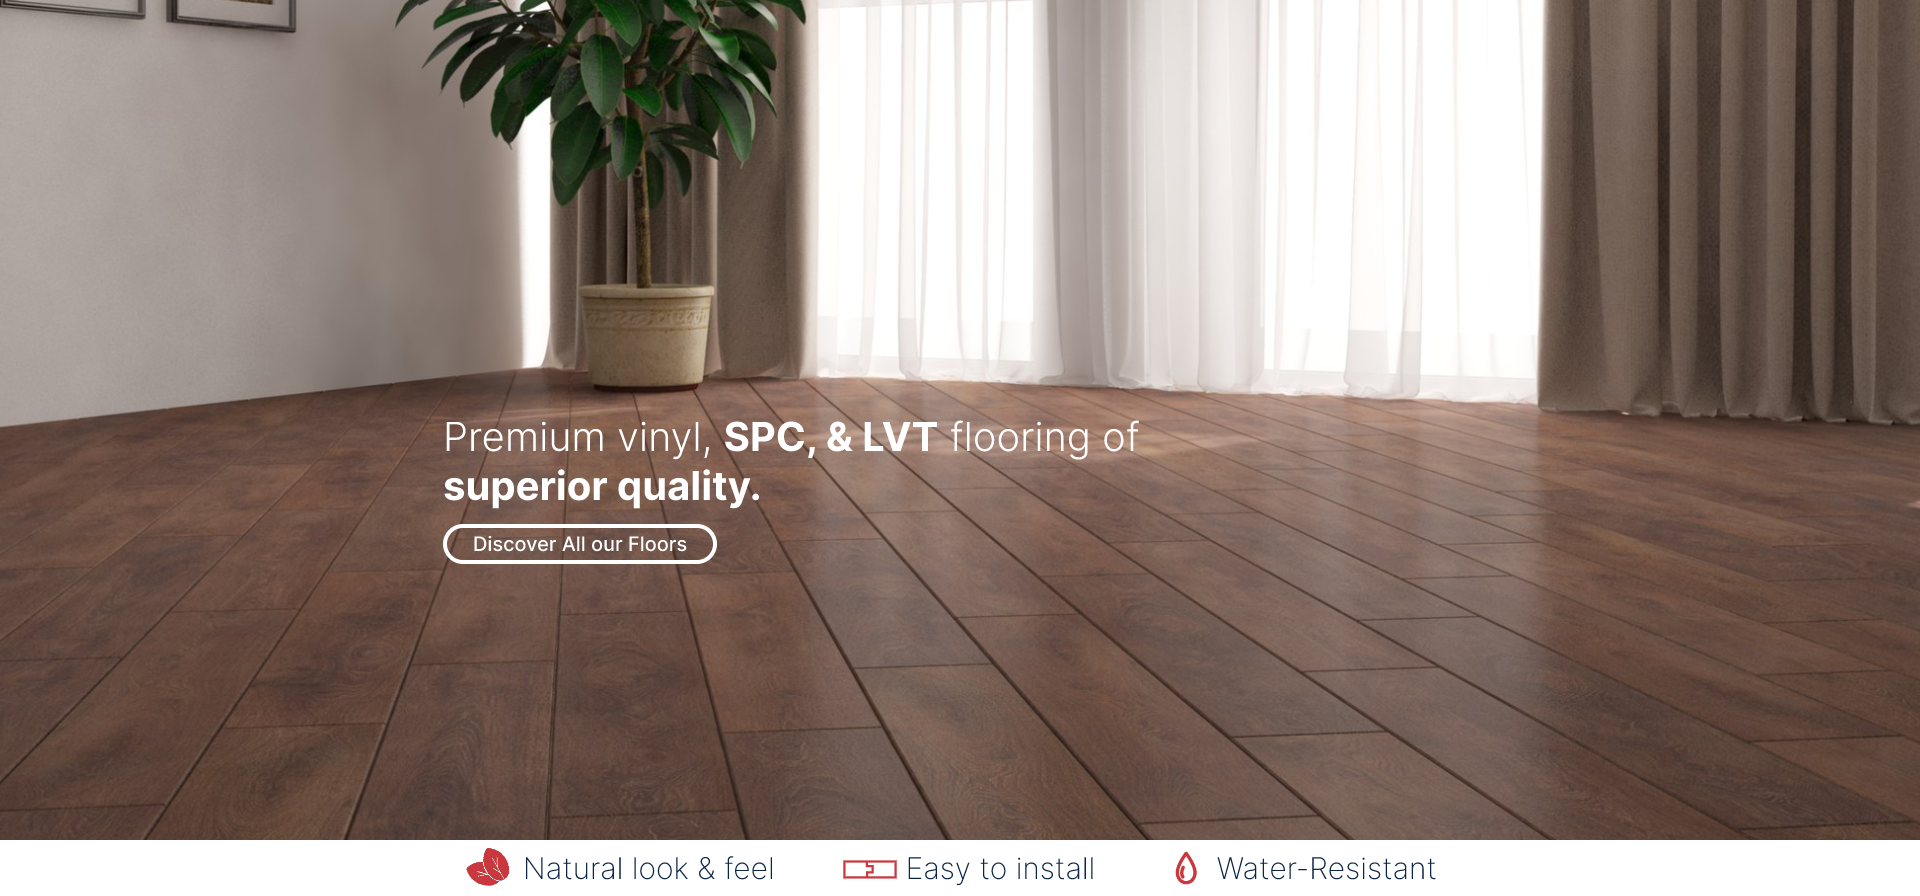
Carefree living starts with a high-performance floor. That’s Samaro’s motivation since 1990. Today you can choose between a wide range of long-lasting laminate, vinyl, and wood flooring, topped off with matching skirting boards, and finishing profiles. Our trademarks, beautiful designs, water-proof floors, and easy installation – all thanks to a series of ground-breaking innovations.
LET US GUIDE YOU TO YOUR PERFECT SPC FLOOR
Choosing the perfect floor is not easy, but we would love to help you with the challenge. Together we will find a vinyl floor that fits your home perfectly.
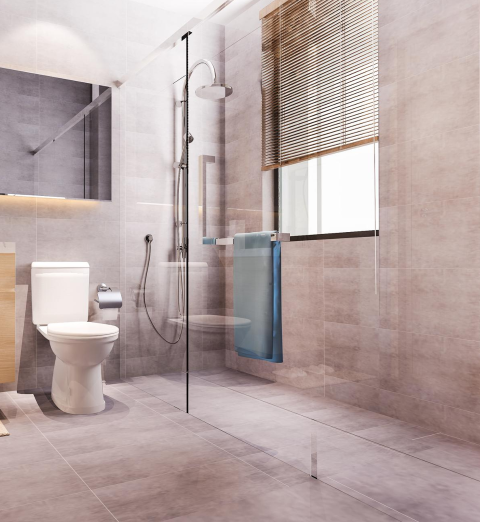
The first step depends on the type of subfloor you’re working with, so you’ll have to inspect it. We highly recommend working on a level, stable, and clean subfloor. Don’t forget to check for any loose parts.
How big can the joints in your existing tile floor be? How can you level out irregularities? What about underfloor heating?
Take your time to read the installation instructions so you are fully prepared to get started! – Watertight laminate: Capture, Classic, Creo, Eligna, Impressive (Ultra), Majestic & Muse – Watertight laminate: Impressive Patterns – Not watertight laminate: Largo – Underfloor heating instructions
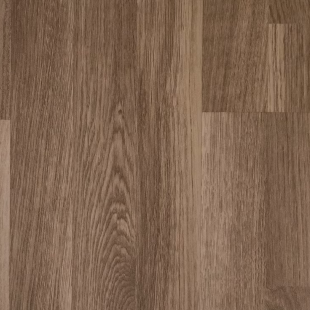
STEP 2: Acclimate the Flooring
Allow the SPC flooring to acclimate to the room’s conditions for at least 48 hours before installation. This acclimation period is vital as it allows the material to adjust to the room’s temperature and humidity. Place the flooring boxes in the room and keep them stacked, allowing air circulation around each box. Acclimating the flooring minimizes the risk of expansion, contraction, or warping after installation.
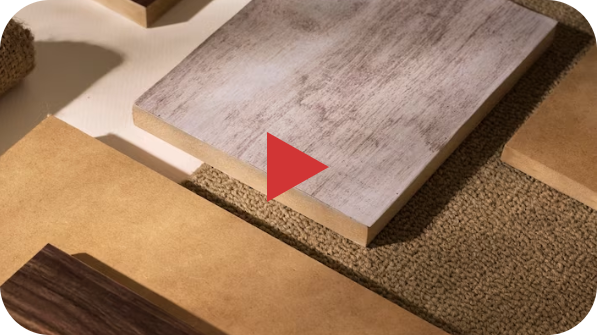
STEP 3: Underlayment
Some installations might benefit from an underlayment for added cushioning, sound insulation, or moisture protection. Follow the manufacturer’s guidelines precisely if an underlayment is recommended. Lay it evenly across the subfloor, ensuring there are no wrinkles or overlaps. Underlayment can enhance the overall performance and lifespan of the SPC flooring.
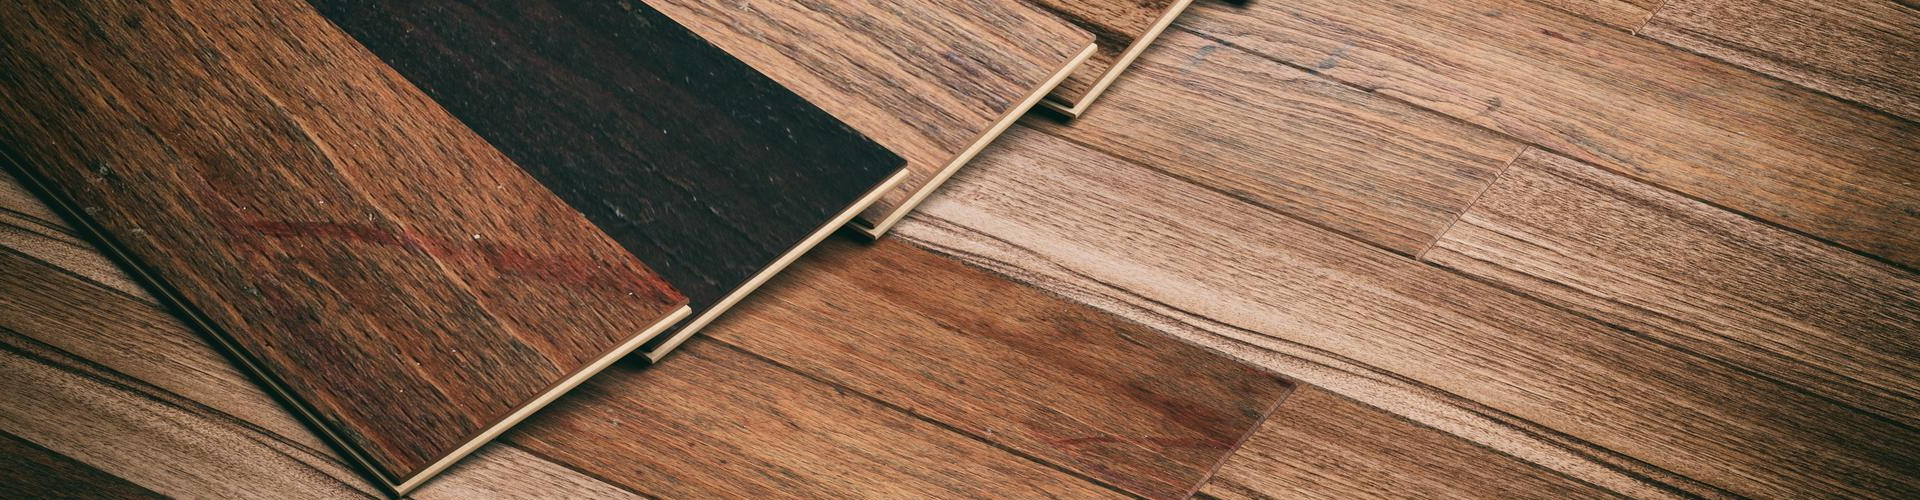
STEP 4: Lay the First Row
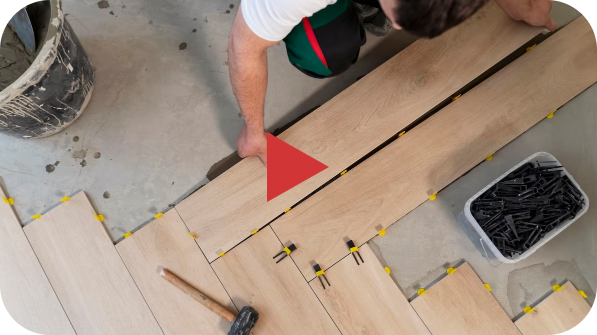
Start the installation process in a corner of the room. Lay the first plank or tile, using spacers against the walls to maintain an expansion gap, usually around 1/4 inch. Ensure the tongue-and-groove edges fit tightly together. Take care to align them accurately to set a solid foundation for the rest of the flooring. A level and straight first row are crucial for a seamless installation.
STEP 5: Continue Installation
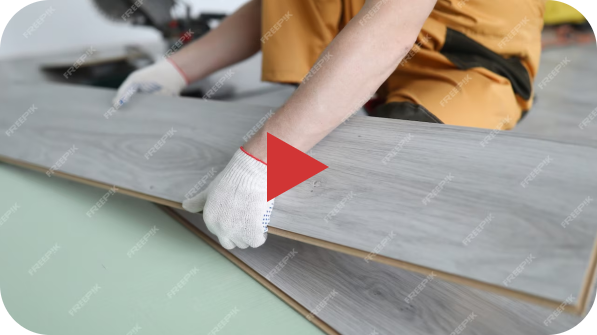
Proceed with laying subsequent rows, interlocking the planks or tiles securely. Stagger the seams, similar to a brick pattern, to enhance stability and aesthetics. Use a tapping block and a rubber mallet to gently tap each piece into place, ensuring a snug fit without causing damage to the material. Double-check each row for straightness and alignment before moving on to the next.
STEP 6: Finishing Touches
Once the SPC flooring is installed, remove the spacers and install baseboards or molding to cover the expansion gap. Use transition strips where the SPC flooring meets different flooring types or in doorways for a professional finish. Inspect the entire installation for any gaps, irregularities, or loose pieces and make necessary adjustments.